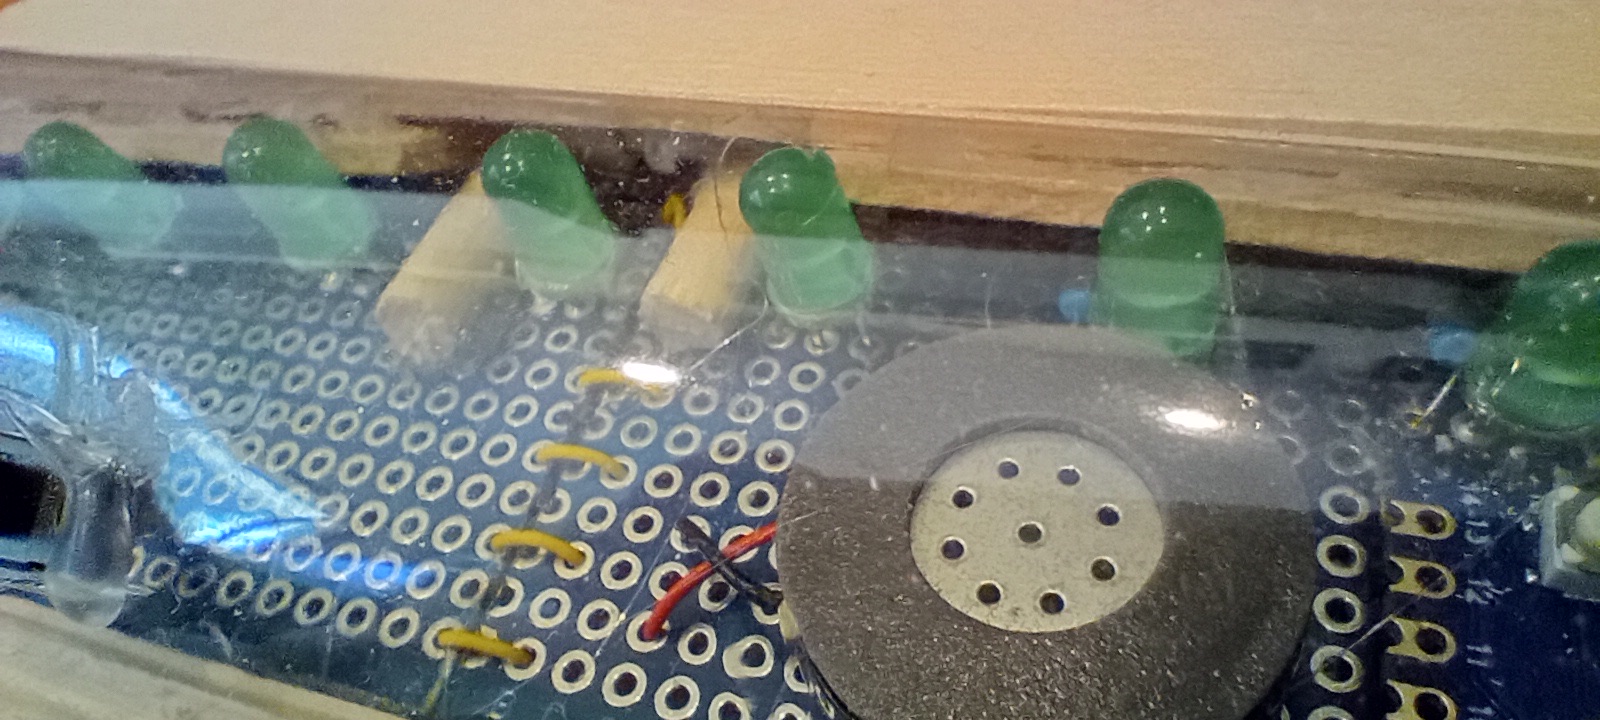
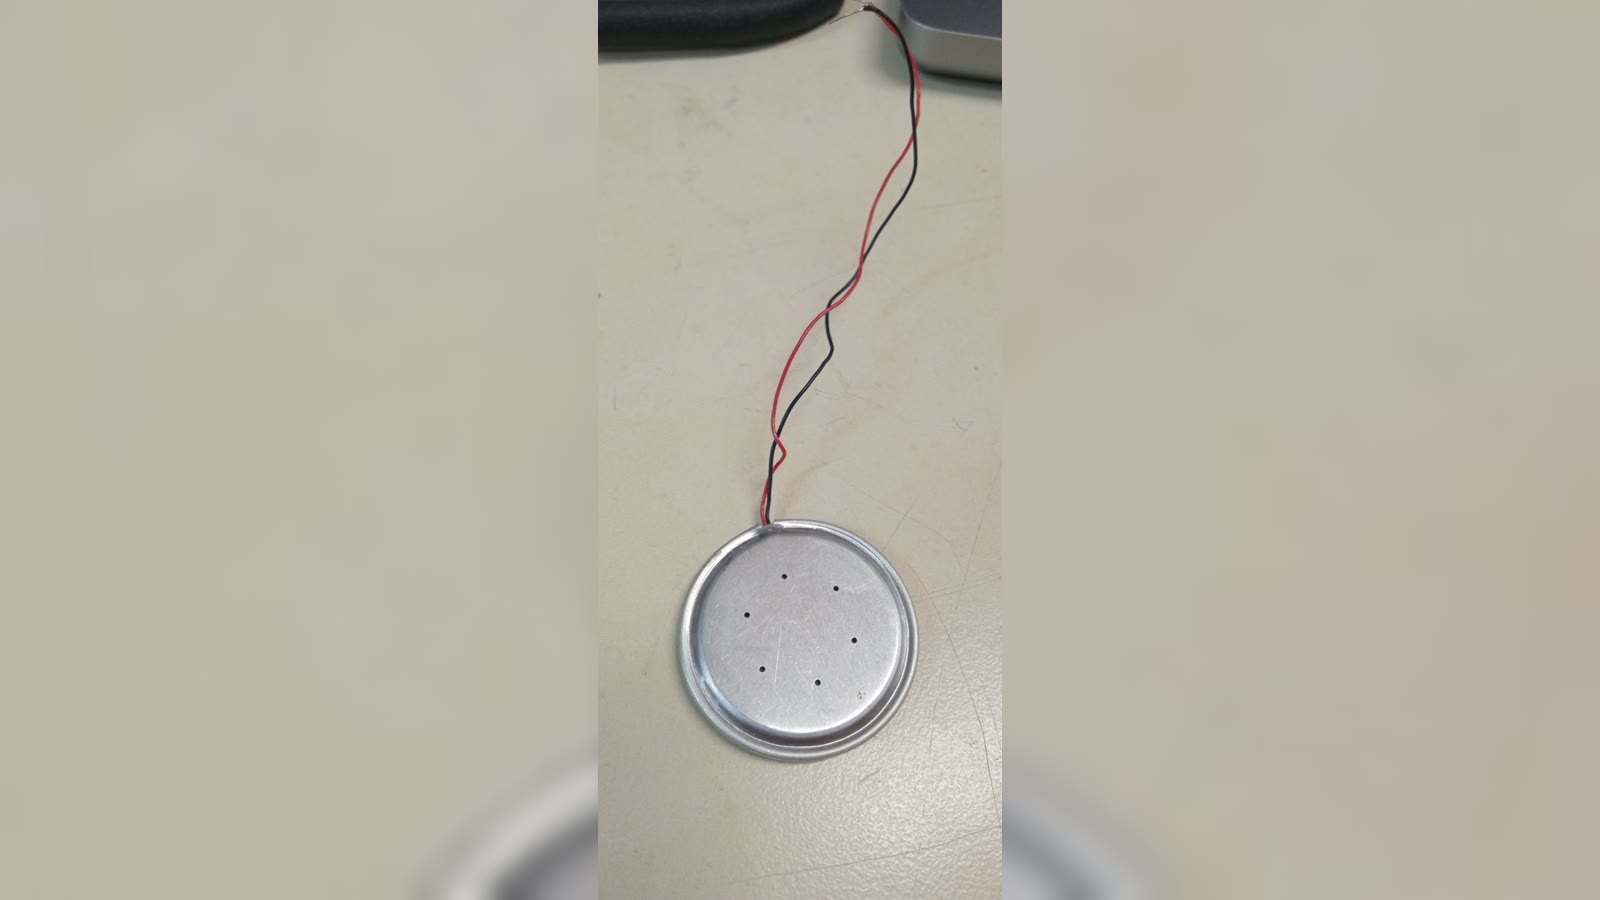
I began with just testing out a buzzer.
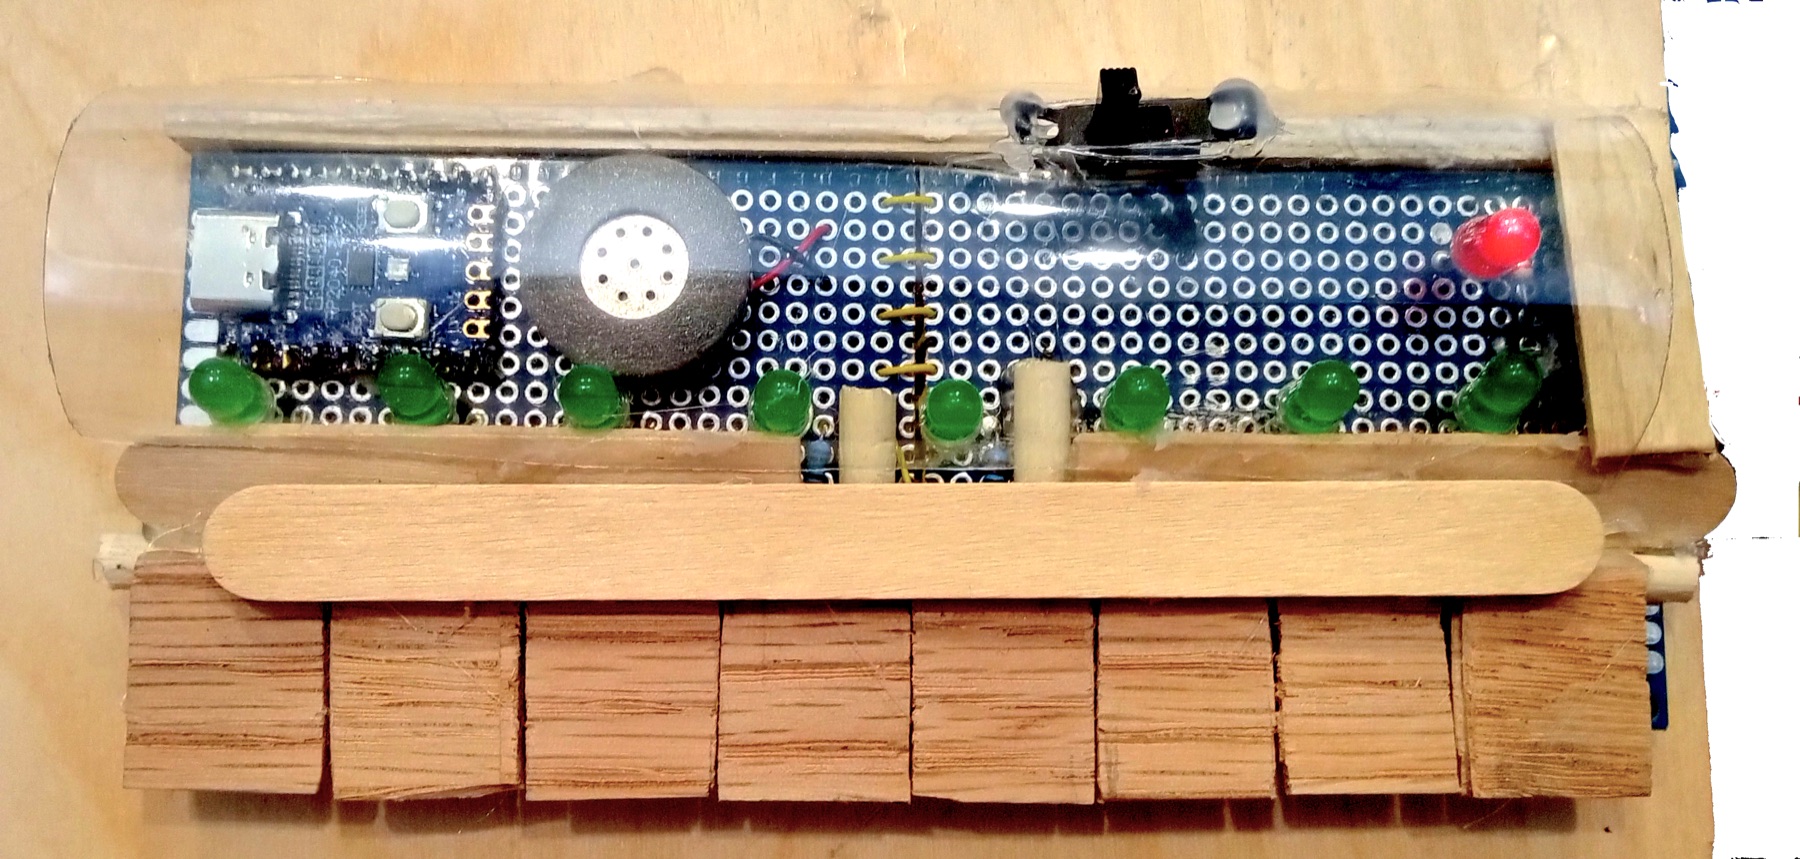
Project snapshot
My arduino piano project is my first arduino project. It functions as an 8 key piano. A switch changes the sound from piano notes to a wide range of hertz sounds. I used C++ code to program the microcontroller.
The materials I used are:
Code
#include <Arduino.h>

const int BUZZER_PIN = 8;

const int BUTTON1_PIN = 29;
const int BUTTON2_PIN = 28;
const int BUTTON3_PIN = 27;
const int BUTTON4_PIN = 26;
const int BUTTON5_PIN = 15;
const int BUTTON6_PIN = 14;
const int BUTTON7_PIN = 7;
const int BUTTON8_PIN = 6;

const int SWITCH_FREQUENCY = 5;

int buzzerFrequency1 = 1000;
int buzzerFrequency2 = 1000;
int buzzerFrequency3 = 1000;
int buzzerFrequency4 = 1000;
int buzzerFrequency5 = 1000;
int buzzerFrequency6 = 1000;
int buzzerFrequency7 = 1000;
int buzzerFrequency8 = 1000;
void setup()
{
  pinMode(BUZZER_PIN, OUTPUT);

  pinMode(BUTTON1_PIN, INPUT_PULLUP);
  pinMode(BUTTON2_PIN, INPUT_PULLUP);
  pinMode(BUTTON3_PIN, INPUT_PULLUP);
  pinMode(BUTTON4_PIN, INPUT_PULLUP);
  pinMode(BUTTON5_PIN, INPUT_PULLUP);
  pinMode(BUTTON6_PIN, INPUT_PULLUP);
  pinMode(BUTTON7_PIN, INPUT_PULLUP);
  pinMode(BUTTON8_PIN, INPUT_PULLUP);

  pinMode(SWITCH_FREQUENCY, INPUT_PULLUP);

  tone(BUZZER_PIN, 1000, 500);
  Serial.begin(9600);
}

void loop()
{
  int switchState = digitalRead(SWITCH_FREQUENCY);

  if (switchState == LOW)
  {
    buzzerFrequency1 = 50;
    buzzerFrequency2 = 100;
    buzzerFrequency3 = 200;
    buzzerFrequency4 = 350;
    buzzerFrequency5 = 550;
    buzzerFrequency6 = 700;
    buzzerFrequency7 = 900;
    buzzerFrequency8 = 1100;
  }
  else
  {
    buzzerFrequency1 = 261.63;
    buzzerFrequency2 = 293.66;
    buzzerFrequency3 = 329.63;
    buzzerFrequency4 = 349.23;
    buzzerFrequency5 = 392.00;
    buzzerFrequency6 = 440.00;
    buzzerFrequency7 = 493.88;
    buzzerFrequency8 = 523.27;
  }


  int buttonState1 = digitalRead(BUTTON1_PIN);
  int buttonState2 = digitalRead(BUTTON2_PIN);
  int buttonState3 = digitalRead(BUTTON3_PIN);
  int buttonState4 = digitalRead(BUTTON4_PIN);
  int buttonState5 = digitalRead(BUTTON5_PIN);
  int buttonState6 = digitalRead(BUTTON6_PIN);
  int buttonState7 = digitalRead(BUTTON7_PIN);
  int buttonState8 = digitalRead(BUTTON8_PIN);

  if (buttonState1 == LOW)
  {
    tone(BUZZER_PIN, buzzerFrequency1);
    delay(100);
  }
  else if (buttonState2 == LOW)
  {
    tone(BUZZER_PIN, buzzerFrequency2);
    delay(100);
  }
  else if (buttonState3 == LOW)
  {
    tone(BUZZER_PIN, buzzerFrequency3);
    delay(100);
  }
  else if (buttonState4 == LOW)
  {
    tone(BUZZER_PIN, buzzerFrequency4);
    delay(100);
  }
  else if (buttonState5 == LOW)
  {
    tone(BUZZER_PIN, buzzerFrequency5);
    delay(100);
  }
  else if (buttonState6 == LOW)
  {
    tone(BUZZER_PIN, buzzerFrequency6);
    delay(100);
  }
  else if (buttonState7 == LOW)
  {
    tone(BUZZER_PIN, buzzerFrequency7);
    delay(100);
  }
  else if (buttonState8 == LOW)
  {
    tone(BUZZER_PIN, buzzerFrequency8);
    delay(100);
  }
  else
  {

    noTone(BUZZER_PIN);
  }
}
I began with just testing out a buzzer.
Then I added buttons to the buzzer. It worked but it was very clunky. I soon realized that it would be better to use small buttons and make the physical piano key separately.
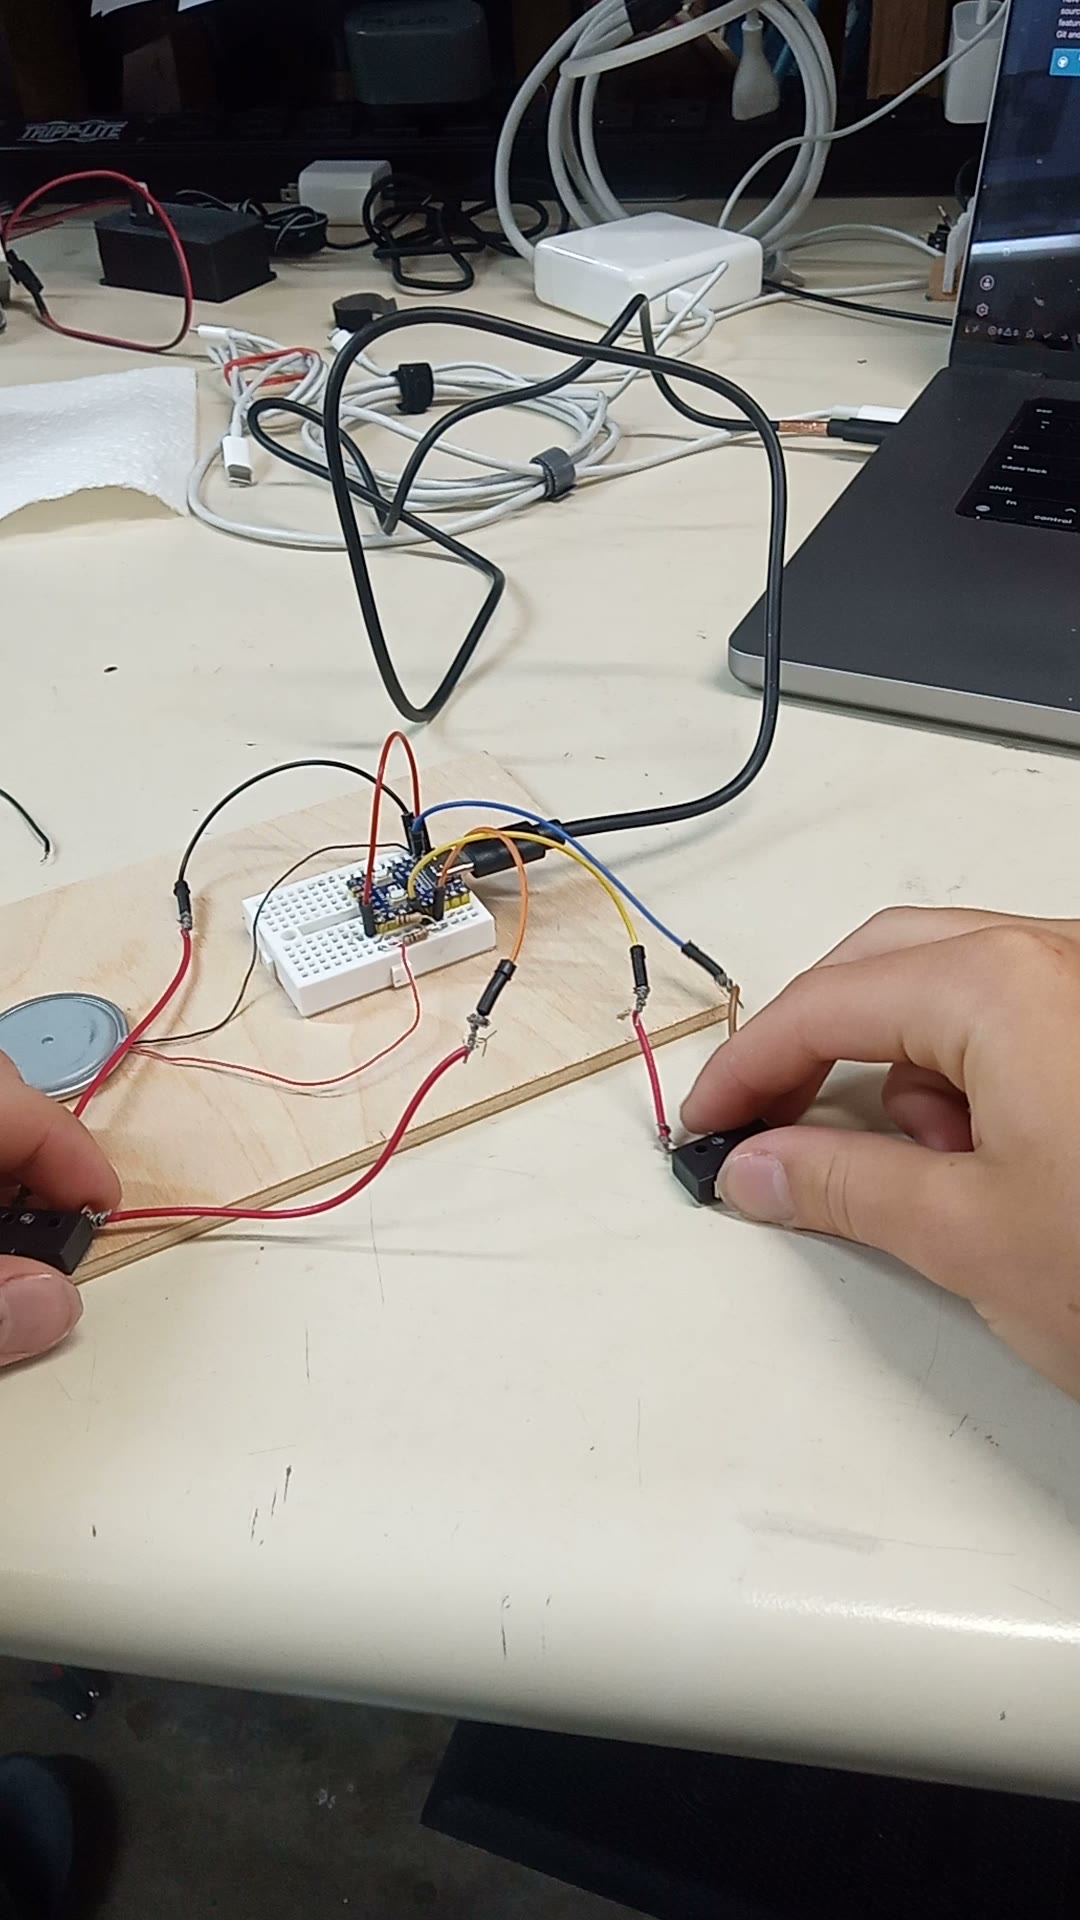
I used new buttons and a smaller buzzer for my final version using a bread board.
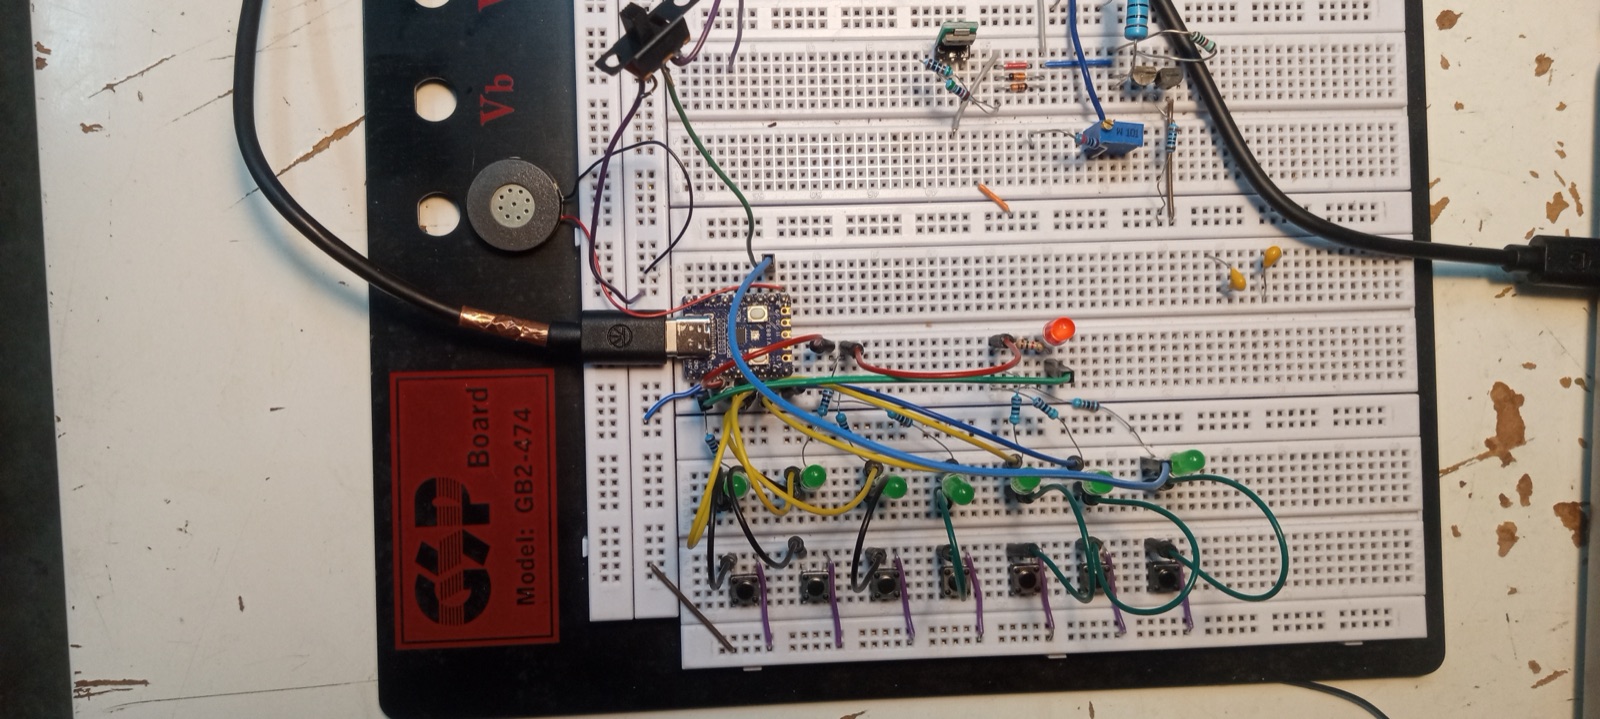
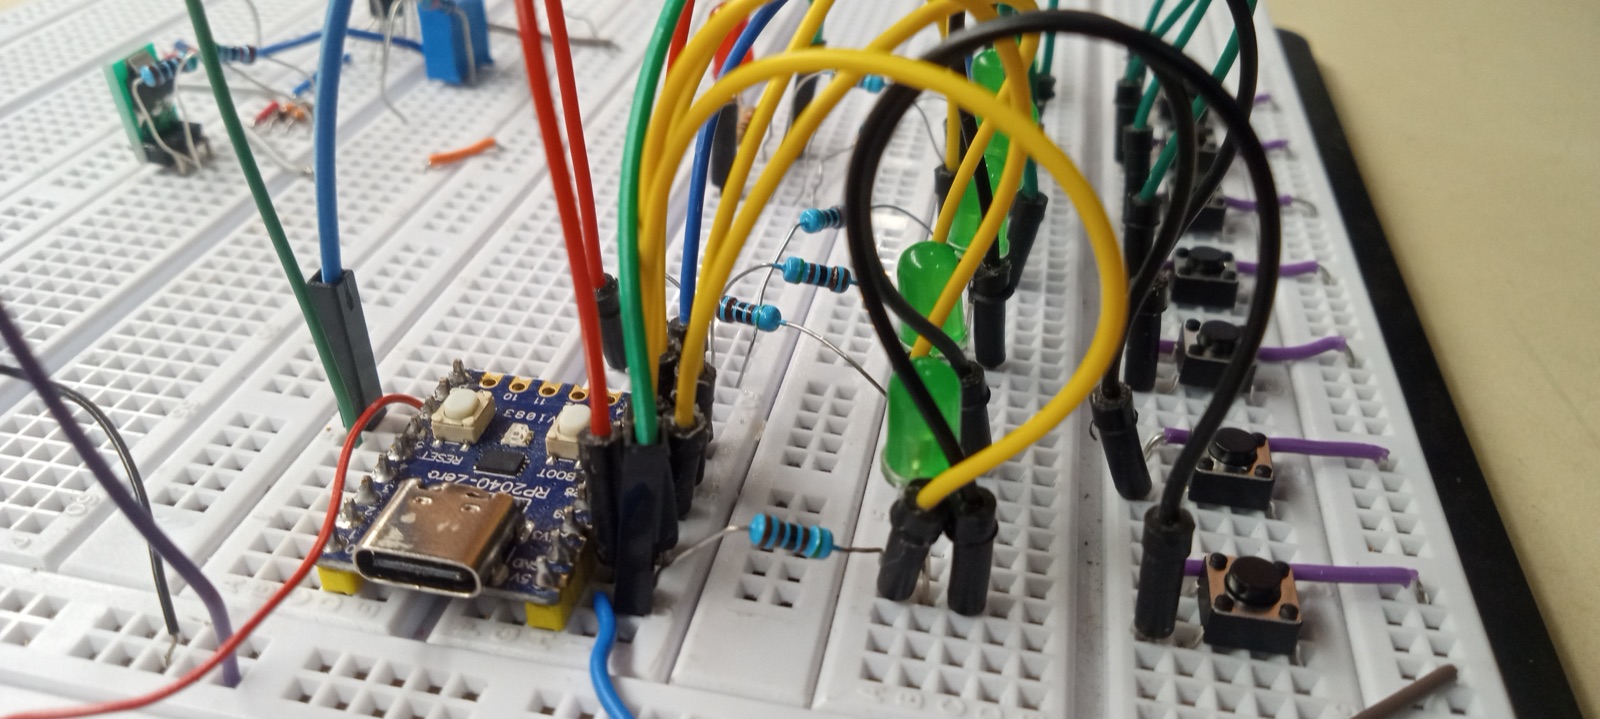
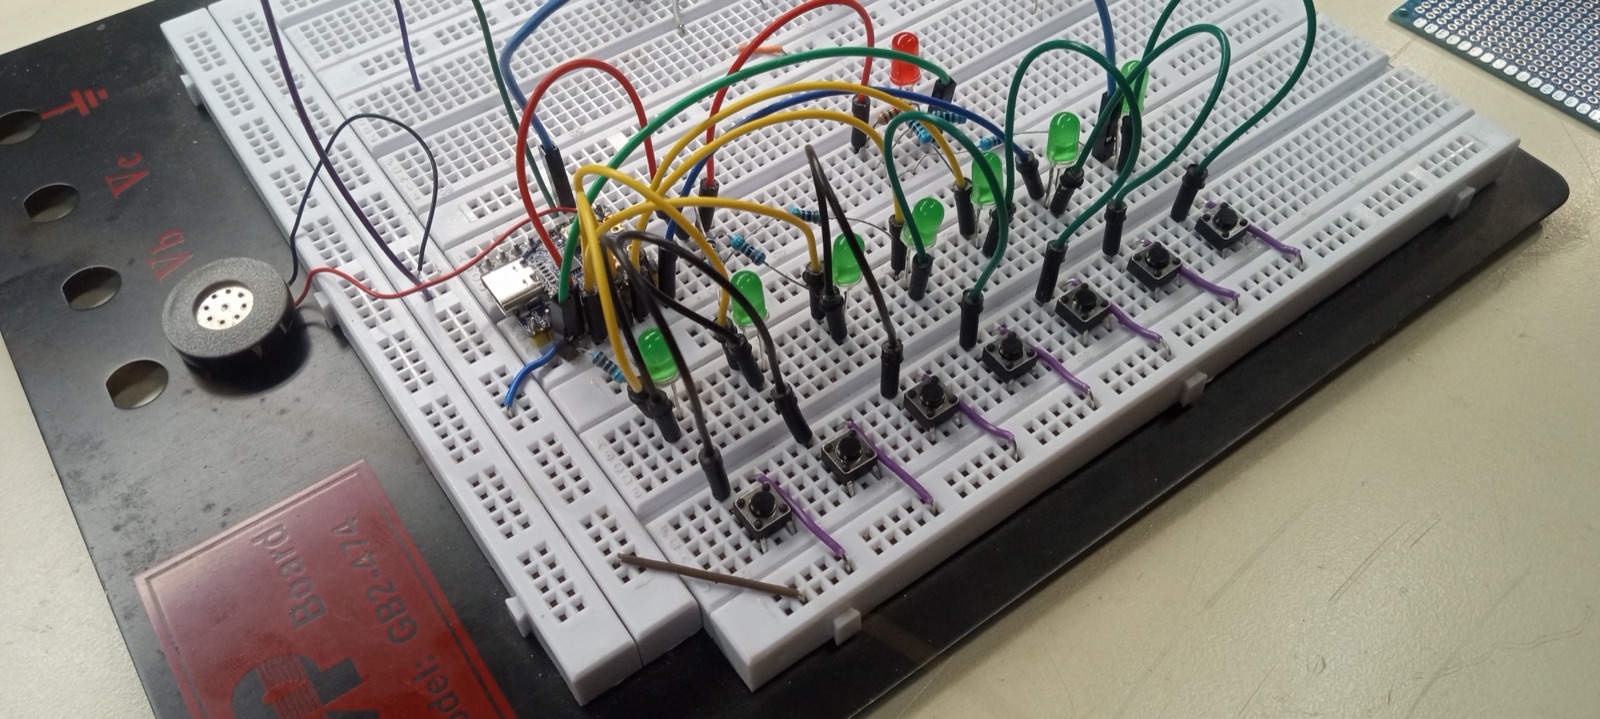
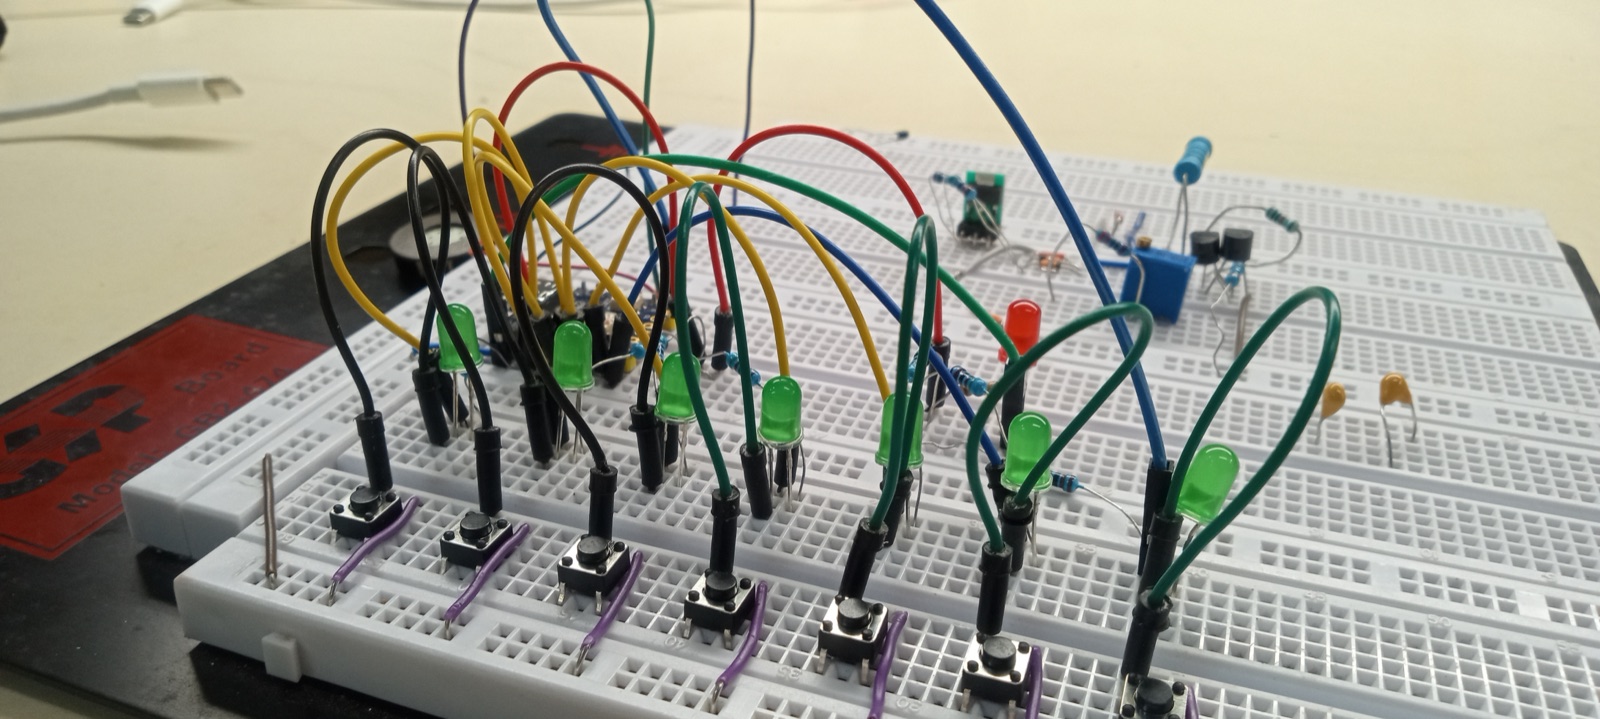
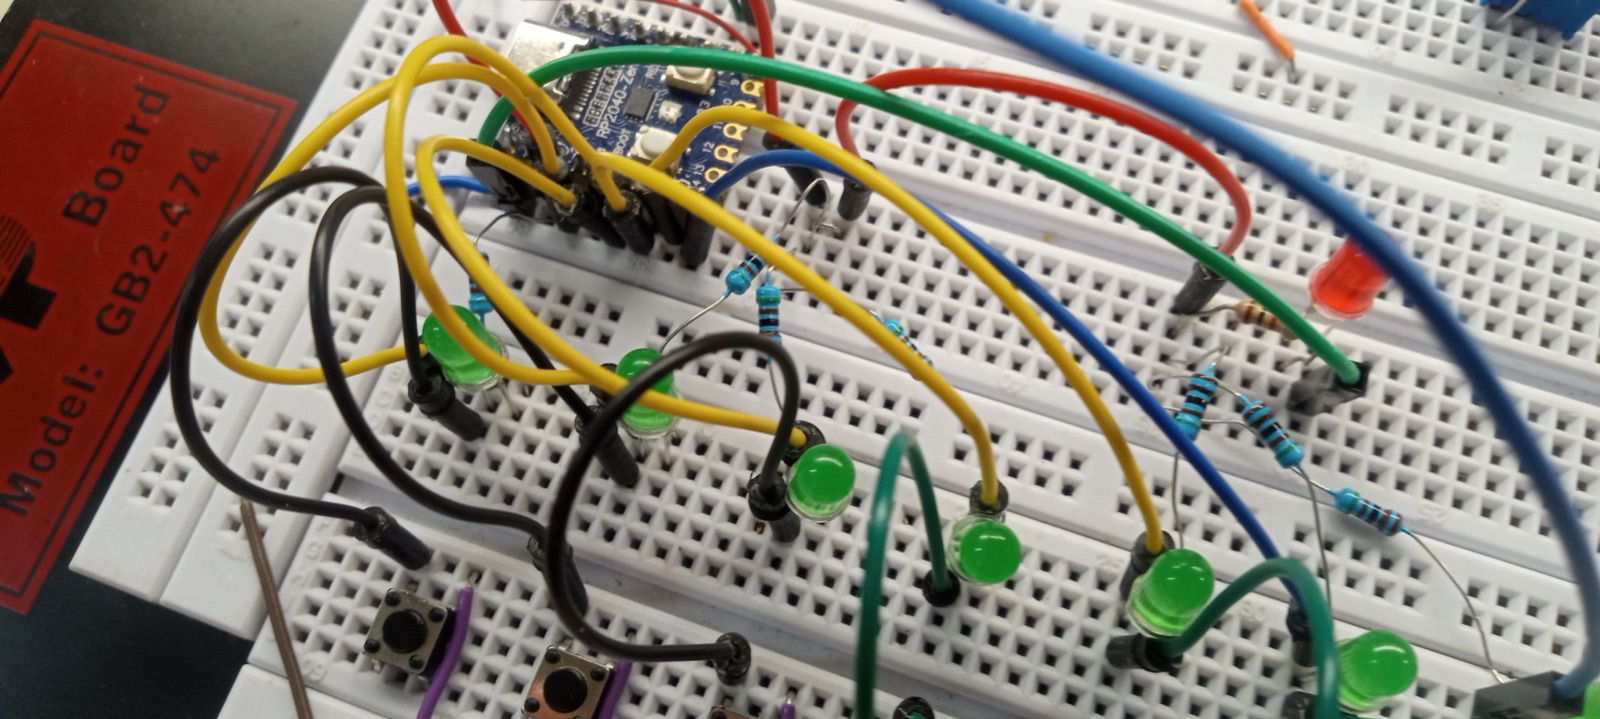
Then I moved on to actually soldering the components. This part was the hardest because I was new to soldering electronics. I also found it difficult to visualize where to connect the wires.
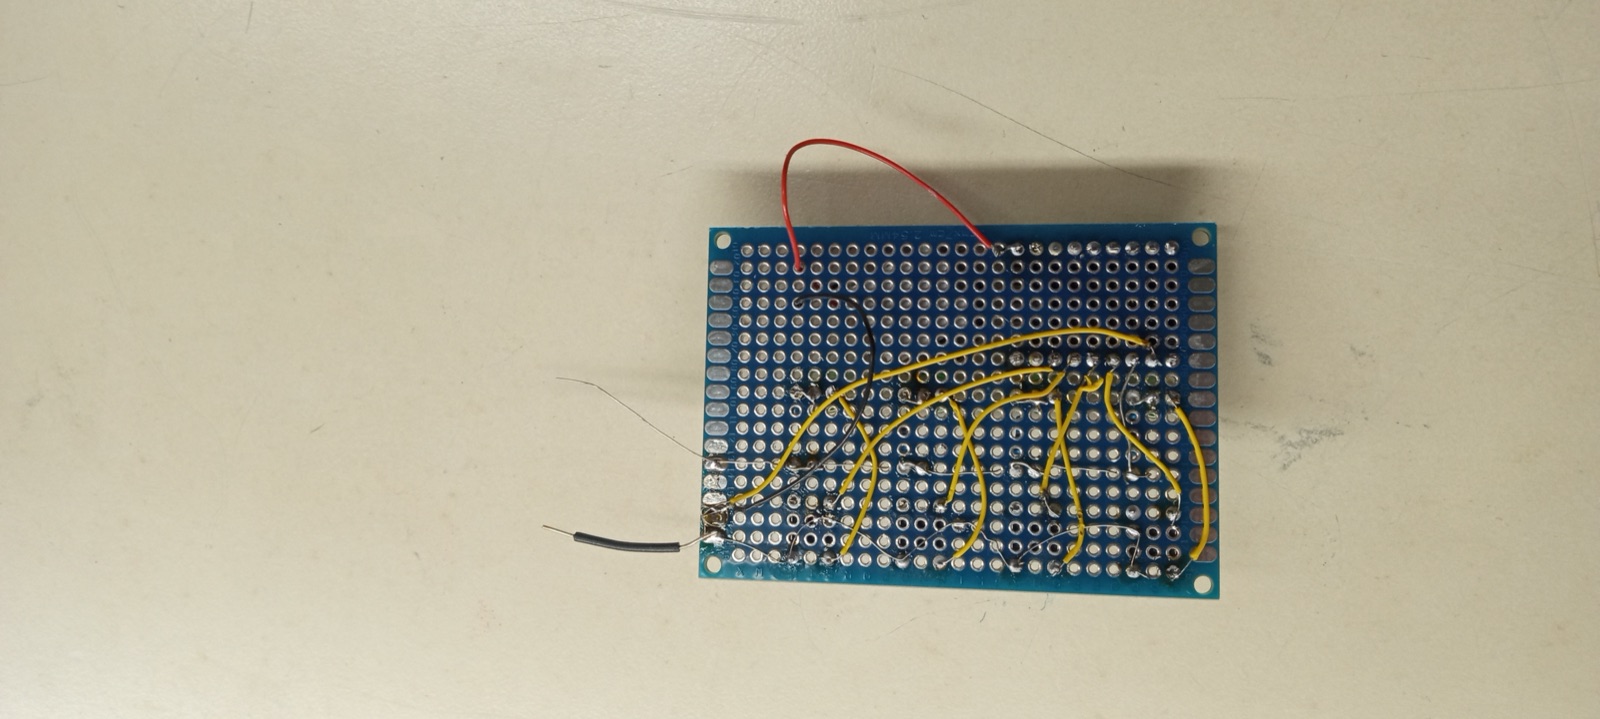
I finished up with a plastic and wooden case.